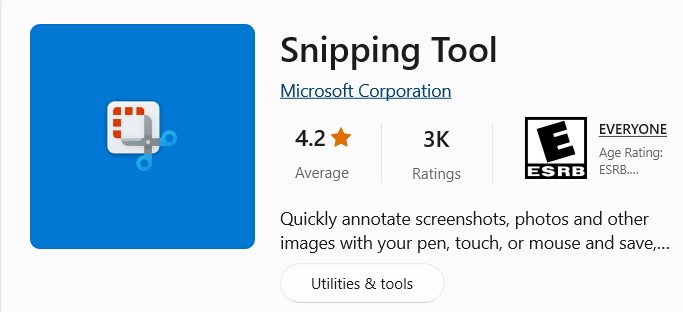
Want to snap an image of your next bestselling book rank? Or maybe save a few worldbuilding ideas for your next novel? Most of us are familiar with the screenshot button on our keyboards, but if you only want to copy part of the screen, you’d have to paste that screenshot into an editing program and crop it. Or maybe there’s an image you need (and have permission to use), but a website isn’t allowing you to download it. What you need is a free screenshot tool to snip a bit from the page to make your life easier.
There are many options to capture screenshots on the market. Some are free, some have a one-time charge, and other programs offer subscription plans. But unless you are a developer and need the greater options the paid tools offer, you might consider a free program. One of the easiest and most accessible is Snipping Tool by Microsoft. With this handy tool you can easily copy any part of your screen—and you can even annotate it. Plus the image is temporarily saved to your clipboard so you can paste it without first saving it somewhere.
You can get this for your PC by visiting your Microsoft App Store. This is most easily done by pressing the Windows button and typing Microsoft in the search.
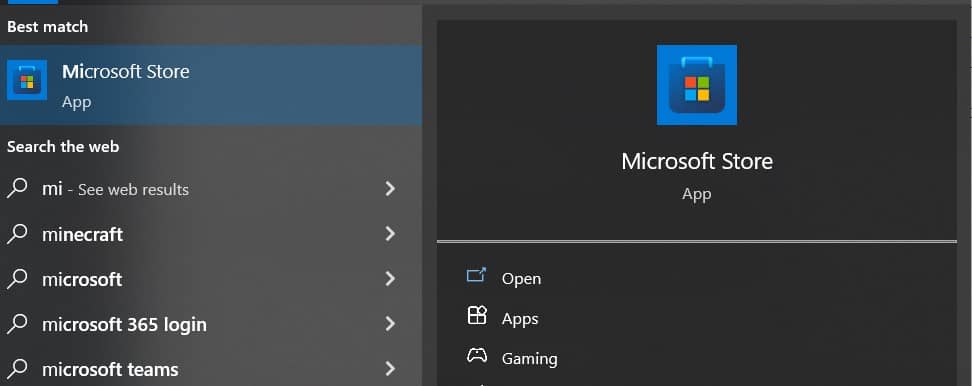
Then type in Snipping Tool and find this image.
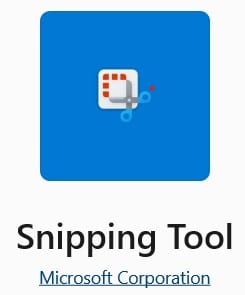
Note that a similar tool exists for the Mac.
How to Find this Free Screenshot Tool
Once downloaded, there are several different ways to find the tool on your PC.
Search
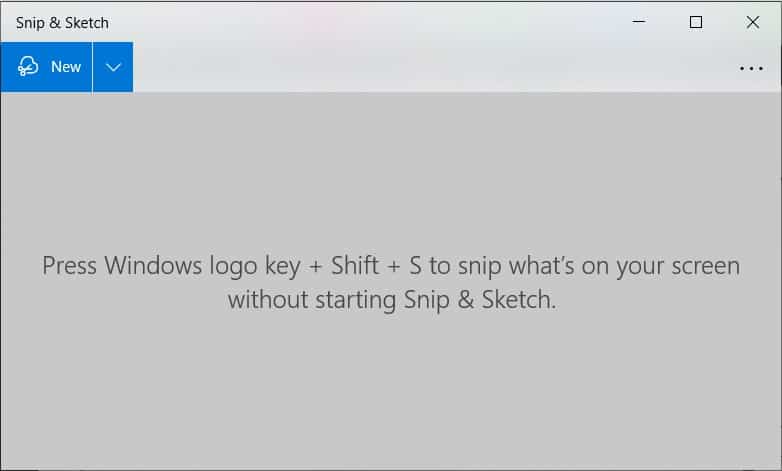
To find it, simply begin typing “s n i p . . .” into your Window’s search and the tool should come up. Click to open it. At this point you can pin it to your task bar or put it in your favorites for easy access later. It may say Snipping Tool or Snip and Sketch.
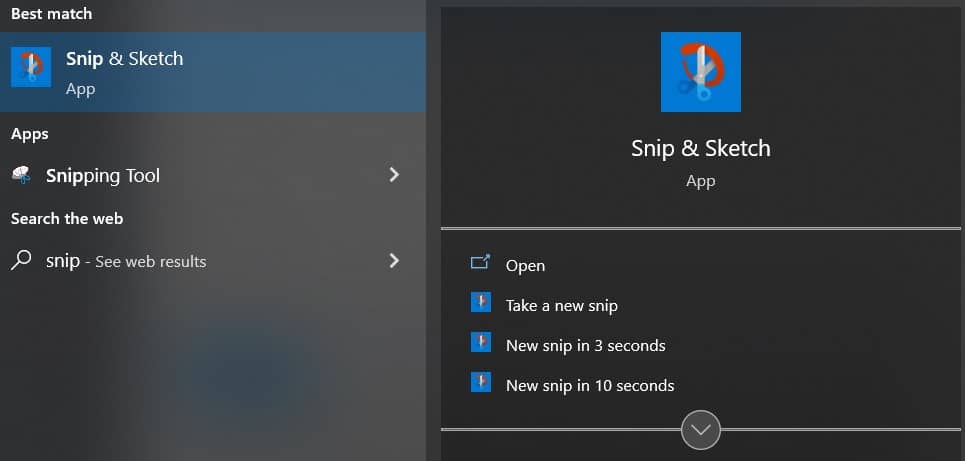
Shortcut
You can also find the tool by clicking Window logo key+Shift+S for the shortcut.
How to Use
Identify Part of Image to Snip
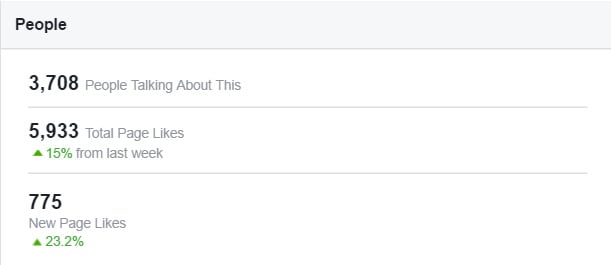
Here we wanted to take a snapshot of the way our Facebook page is growing and how many people were talking about us that day on Facebook.

Bring up the Snipping Tool

Click on “New” and the background will fade
Don’t worry if the snipping menu appears to be over part of the screen. It won’t be in your final shot. But you can always move the Snipping Tool to any part of the computer screen before you click “New.” (Note that the menu shown below is from the former version of this tool that was called Snipping Tool. Yours will appear a bit different.)

Use your cursor to snip out the text you want
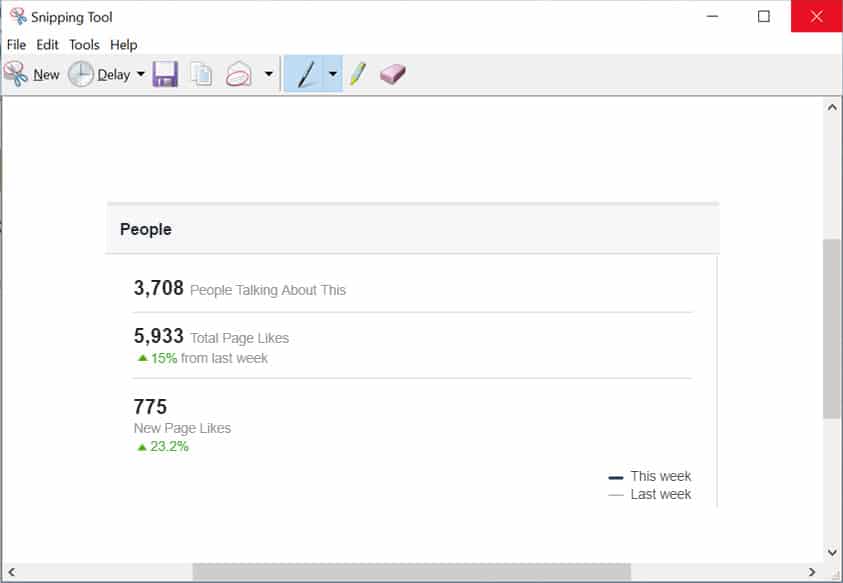
Click and hold on the corner of the area you want to snip, then, while still holding the mouse button, move the cursor to the opposite corner. When you are finished, release and you’ll have something like the screenshot below.
Annotate and highlight
You can use the pen and highlighter that will appear at the top after you snip your image to make annotations. Use your mouse to do this. It’s a bet awkward but does the job, so take some time to click the menu and toolbar buttons to get a feel for what the program can do.

Undo/Redo
Make a mistake. You can easily undo or redo your annotating. Just look for the swirling arrows, which will be by the “New” either at the top or bottom right hand of your screen, depending on how large or small you’ve made the window.
Paste wherever you want without saving
This free screenshot tool has now copied your chosen image (including annotations) onto your clipboard, so go ahead and paste it wherever you want to use the image (see below how it will paste). Or you can choose “File” and “Save” to keep a file on your computer.
Save for More Editing or for Later Use
Need it for later or to share on a site that requires uploading instead of pasting? Just save it using the save disk icon and your good to go. You can also reopen snips right in the program.
More Options
Different Kinds of Snips
For this tutorial, we’ve used the “Rectangular Snip” option. But there are more options! If you click the little down arrow to the right of the “New” button, you’ll find a few extra snipping options:
- Rectangular Snip (the default one we’ve used for this tutorial and the one you will most likely use)
- Free-form Snip
- Window Snip (highlighted for this screenshot)
- Full-screen Snip (essentially, a print screen that you can also annotate)

Once you use a certain snip above, it usually will default to that one the next time.
The Free-form Snip option is cool but hard to control with the mouse. It works really well on touch screens that support a pen, such as with the Microsoft Surface device.
Delayed Snipping
Need to open a screen or pull down a menu before you snip? No problem. Just choose one of the delay options.
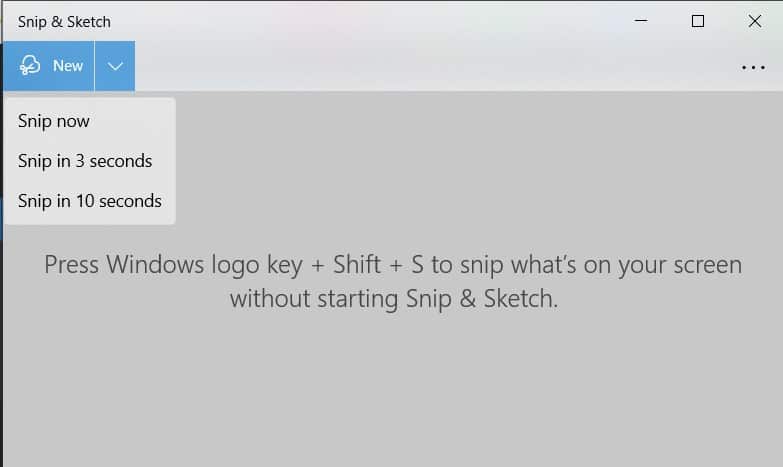
(Thanks to P.H. Solomon for pointing this out!)
Crop
There is also a built-in crop when you finish your snip, if you need to adjust a bit more.

Using your free screenshot tool is that easy! Happy snipping!
Check out this post for helpful websites tools and apps, and this one for music apps. Or if you’ve been wanting editing tools and apps to help break into BookTok, this post is a must read.




Comments